You carefully completed your Vietnam e-visa application, uploaded what you believed were correct photos, paid the fee, and waited with confidence — only to receive a cold rejection notice stating …
Every week, thousands of travelers unknowingly submit incorrect digital photos for their Vietnam e-visa application—wrong background shades, uneven lighting, glare on glasses, low-resolution images, or improperly cropped shoulders. What seems like a minor technical detail can quickly turn into a frustrating delay of 3–7 working days, unexpected document requests, or even the need to reapply entirely. When your departure date is getting closer, even a small photo mistake can feel catastrophic, causing stress, financial loss, and uncertainty about your travel plans. What many applicants do not realize is that the Vietnam e-visa system does not treat your photo as a simple upload requirement. It is processed through automated image recognition technology and reviewed manually for compliance. That means your photo is a critical biometric identification element, not just a formality. If it fails the technical or visual check—even slightly—your entire application may be paused without warning. Understanding exactly what photo to upload is therefore not optional; it is essential to ensuring your visa is approved smoothly and on time.
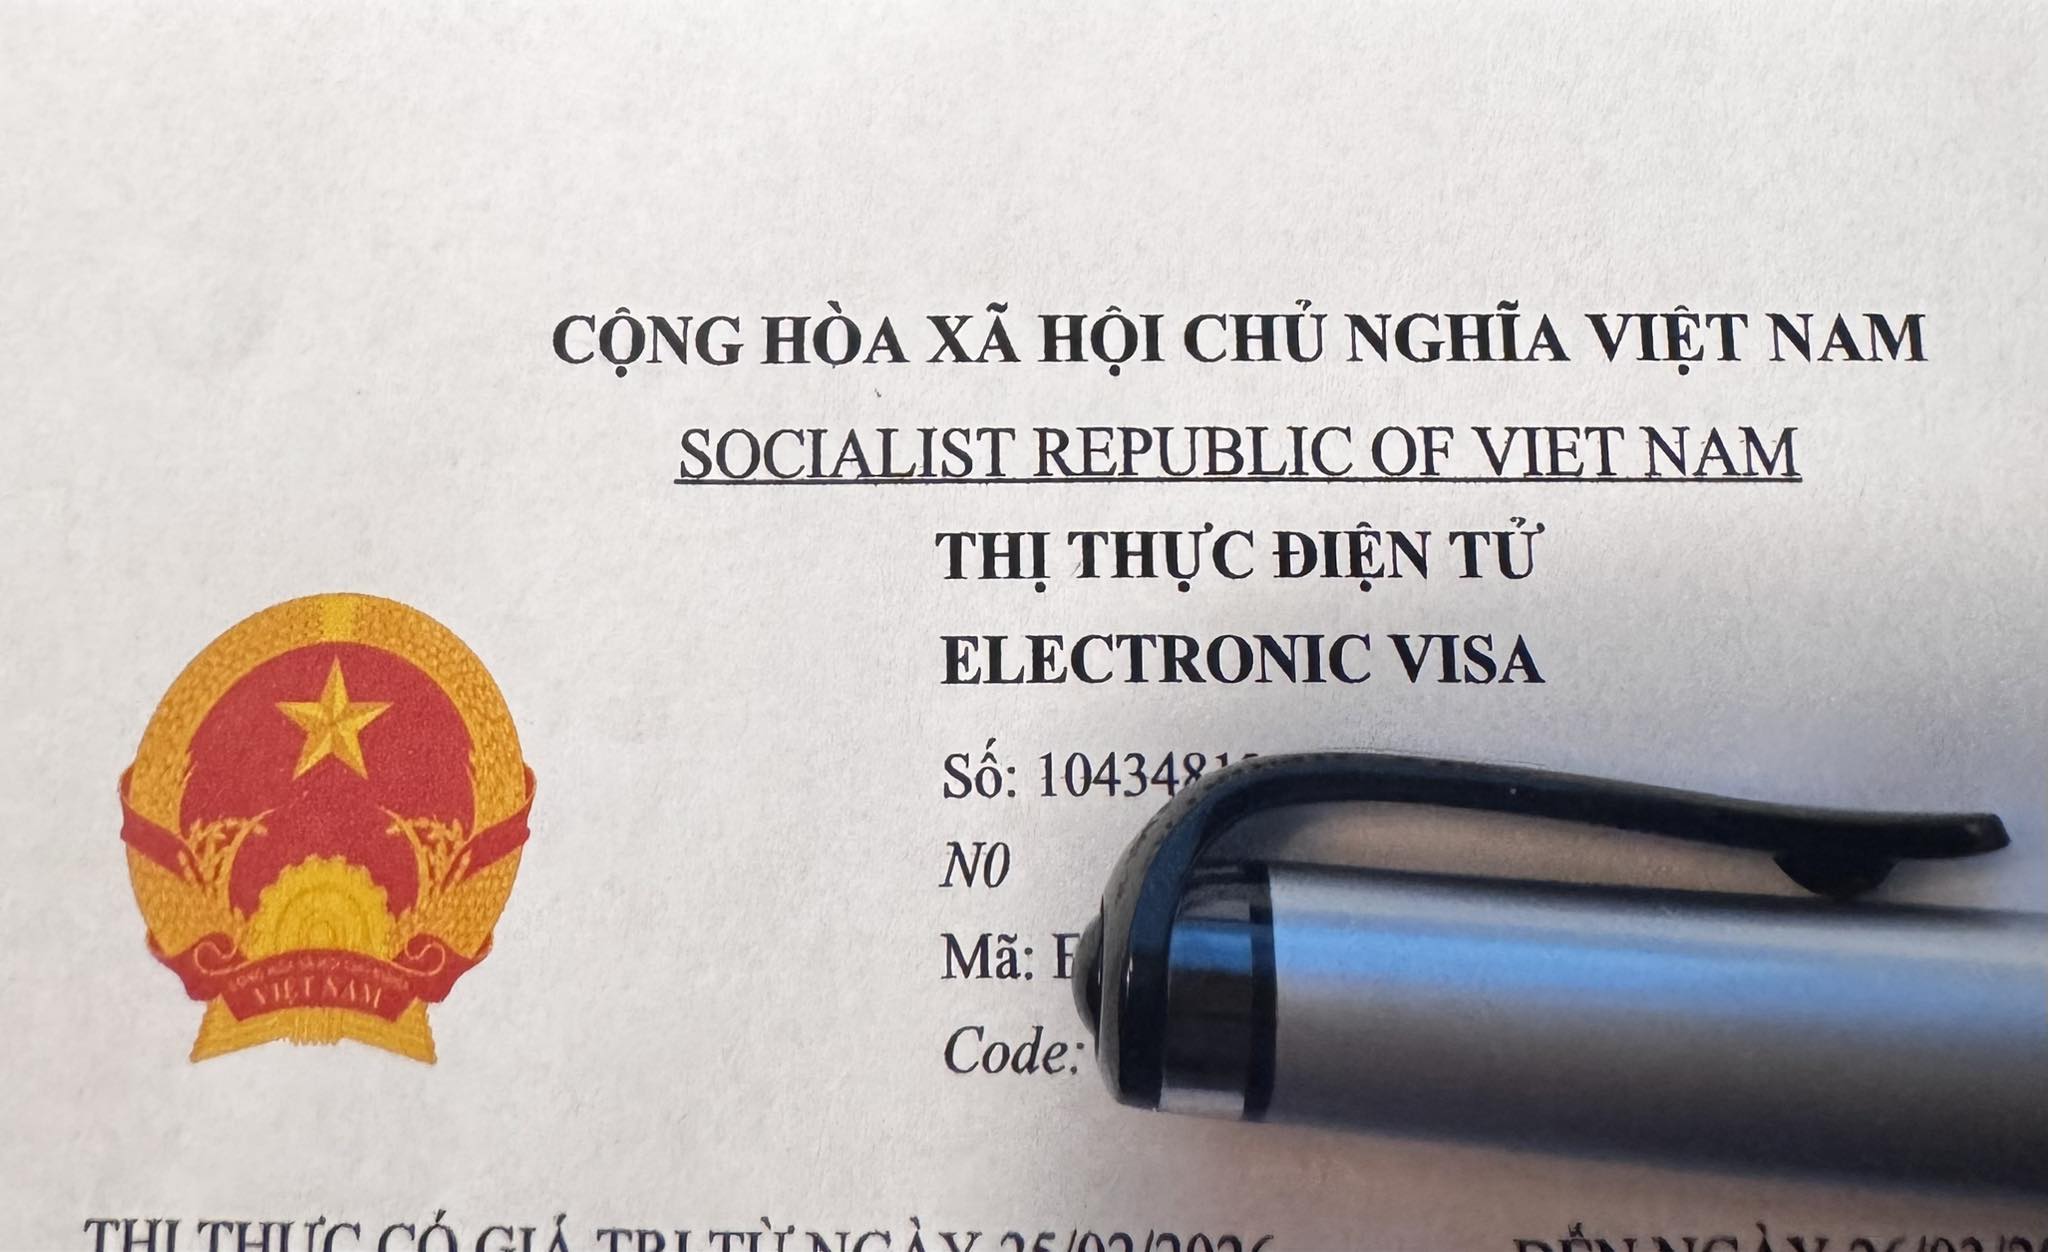
The Vietnam e-visa photo must meet strict digital specifications. First, the file format must be JPEG or PNG. Other formats such as HEIC, PDF, or TIFF are not accepted by the system. The file size typically must remain under the platform’s upload limit (usually a few MB), and the resolution must be clear and sharp—blurry or pixelated images will likely be flagged.
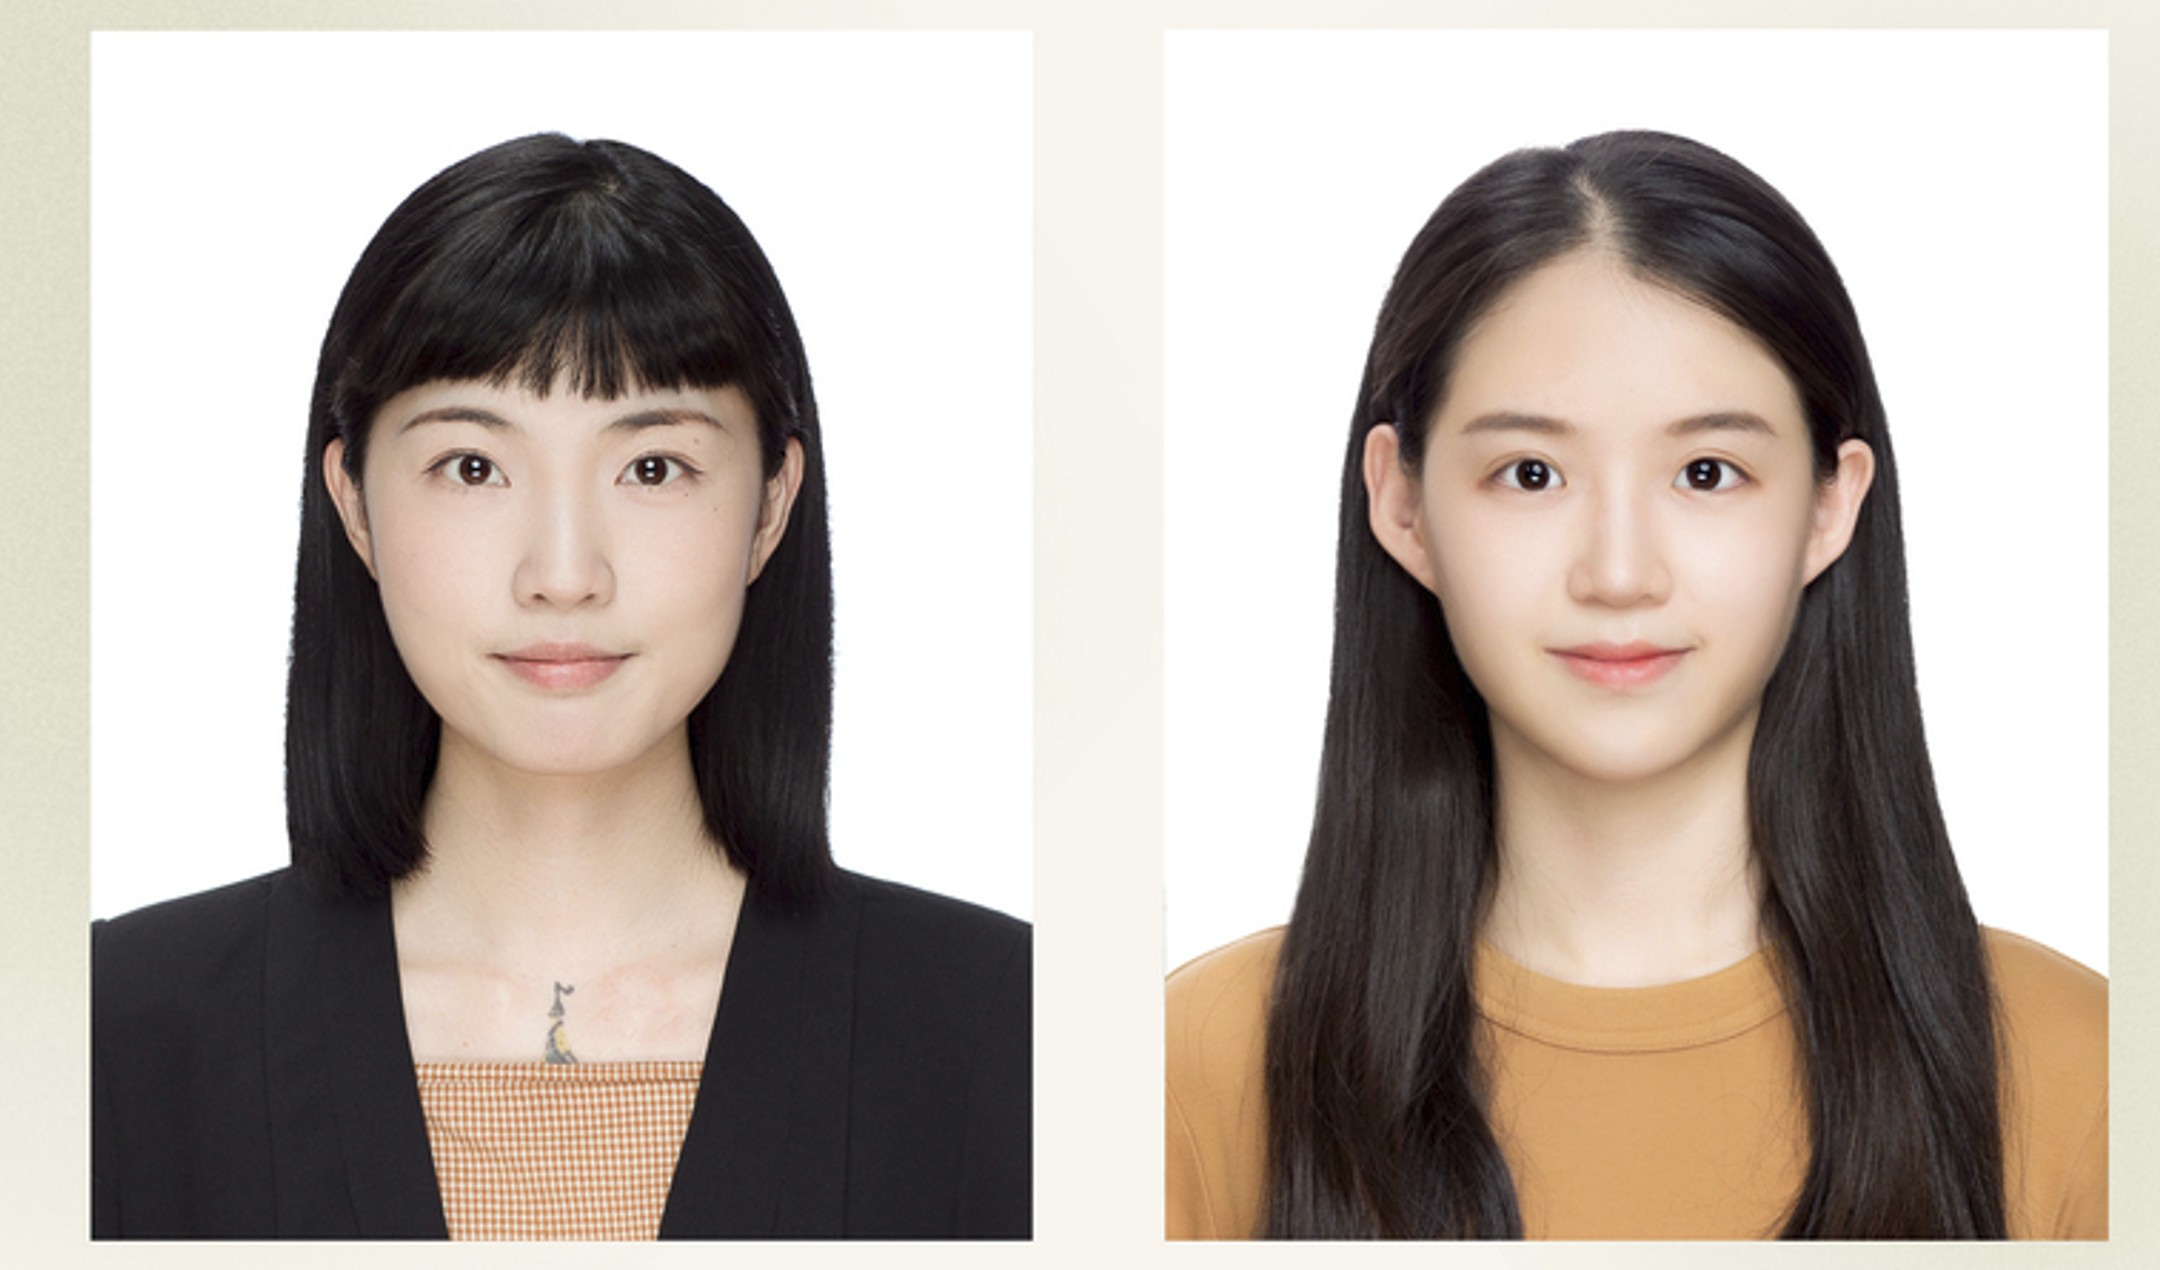
The photo must be recent, taken within the last six months. Your face must be centered, looking directly at the camera, with a neutral expression. Both eyes must be open and clearly visible. There should be no smiling with teeth visible, exaggerated expressions, or head tilting. The image must show your full face and upper shoulders.
Lighting is extremely important. The photo must be evenly lit without shadows on your face or background. Overexposed images (too bright) or underexposed images (too dark) often trigger delays. The system checks facial contrast and clarity carefully. Even small inconsistencies may cause processing delays.
Yes, you can take your own photo for a Vietnam e-visa, but it must strictly meet technical standards. Many applicants successfully use modern smartphones with high-resolution cameras. However, simply taking a selfie is not always enough.
If you take the photo yourself, ensure you stand against a plain white wall. Natural daylight works best—avoid strong overhead lighting that creates shadows. The camera should be at eye level, not above or below. Avoid using portrait mode filters or beauty enhancements, as these may alter facial features.
Selfies taken too close to the face can distort proportions. It is better to have someone else take the photo from a proper distance. Before uploading, zoom in to ensure there is no blur, pixelation, or background discoloration. While self-taking is allowed, precision matters.
A professional studio photo is not mandatory. However, it can significantly reduce risk. Professional photographers understand lighting balance, background purity, and correct facial positioning.
If you are applying close to your travel date or if your nationality requires stricter scrutiny, investing in a professional photo may be wise. The cost of a studio session is small compared to the cost of missing a flight or rescheduling accommodations.
Ultimately, what matters is not whether the photo was taken professionally—but whether it meets all technical and visual standards required by the e-visa system.
Yes, the background must be plain white. Not off-white. Not cream. Not light gray. Pure white.
One of the most common rejection reasons is “background not compliant.” Even subtle shadows or color gradients may cause delays. If using a wall at home, ensure it is clean, evenly painted, and free of texture or patterns.
Avoid using mobile apps to digitally replace the background unless done professionally. Poor editing often leaves unnatural edges around hair and shoulders, which may be flagged during review.
Wear clothing that contrasts with a white background. Dark or neutral colors such as navy, gray, or black are recommended. Avoid white tops, as they may blend into the background and distort shoulder outlines.
Do not wear uniforms, camouflage patterns, or clothing with heavy graphics. Religious head coverings may be permitted if they do not obscure facial features. Your shoulders must be visible in the photo.
Keep accessories minimal. Large earrings, hats, or fashion accessories should be removed. The goal is a clean, clear biometric identification image.

It is strongly recommended not to wear glasses in your e-visa photo. Even if your glasses are prescription and normally worn daily, glare from lenses can obscure your eyes.
The automated system checks for eye visibility and reflections. Even slight glare may cause the photo to fail biometric recognition. Tinted glasses or sunglasses are strictly prohibited.
To avoid unnecessary risk or delay, remove your glasses before taking the photo. This simple precaution significantly increases the chance of smooth approval.
You may use your passport photo if it is recent and available in digital format. However, scanning a printed passport photo is not recommended, as it often reduces quality.
If your passport photo was taken several years ago, it may no longer reflect your current appearance. Any significant changes in hairstyle, facial hair, or age should be considered.
Ensure the digital version is clear, properly cropped, and not compressed. Blurry scans are one of the leading causes of upload rejection.
Common rejection reasons include incorrect background color, low resolution, excessive shadow, overexposure, cropped shoulders, wearing glasses, and incorrect file format.
Sometimes applicants crop the image too tightly, cutting off parts of the head or shoulders. Others upload screenshots instead of original files, reducing clarity.
When a photo is rejected, processing can be delayed several working days. If travel is urgent, this delay can create serious stress. Preventing rejection is far easier than fixing it later.
Before uploading, double-check file format and size. Rename the file using simple characters (avoid special symbols).
Upload your portrait photo in the designated section, then upload the passport bio page image separately. Ensure both files are clear and complete.
After uploading, review the preview carefully. If the image appears stretched, blurry, or improperly aligned, re-upload before submitting. Never refresh the page during upload.
If you are unsure whether your photo meets all technical standards, professional verification can save time and stress. At VietnamImmigration.com, our visa specialists carefully review your portrait photo and passport scan before submission.
With over 15 years of experience in Vietnam visa processing, we help travelers avoid common mistakes that cause delays. Our team supports you 24/7, simplifies documentation, and offers fast-track processing from 2–8 working hours when urgent travel is involved. Every application is double-checked by experienced specialists before submission.
Your trip to Vietnam should begin with excitement—not uncertainty. Don’t risk your entire journey over a small photo error.

Uploading the correct photo for your Vietnam e-visa application is more important than many travelers realize. From background color to lighting, from glasses removal to file format, each detail matters. By following the guidelines above carefully, you can significantly reduce the risk of delays and ensure smooth approval.
If you want peace of mind and guaranteed professional support, expert assistance can make all the difference.
You carefully completed your Vietnam e-visa application, uploaded what you believed were correct photos, paid the fee, and waited with confidence — only to receive a cold rejection notice stating …

Applying for a Vietnam E-visa is a convenient and straightforward process, but one small detail often becomes a major obstacle for many applicants — the photo. Every month, thousands of …
